Opening and viewing a triangle
mesh
-
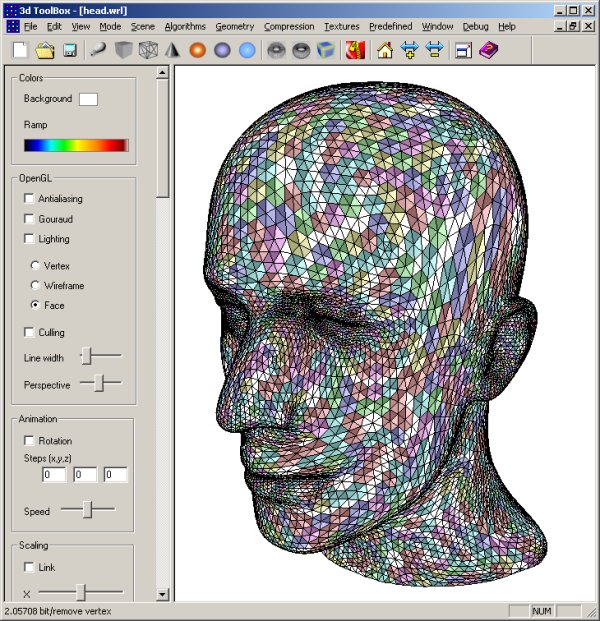
Drag & drop one wrl file, e.g. head.wrl;
-
Choose a rendering mode thanks to the
left control panel;
-
Choose a viewpoint (use the mouse):
-
left button: x/y
translation;
-
right button: z translation;
-
both: rotation (press
'ctrl+s' to switch the rotation axis).

The mesh head rendered in
wireframe, light off, culling on.
Progressive Encoding
Press Ctrl+Shift+R,the options dialog
pops up:

The default output file name (.vpm)
is deduced from the current wrl file name, and several options have to
be chosen:
-
Requested #vertices: the final
requested number of vertices, knowing that the minimal number is bounded
by genus/boundary preservation, as well as some metric-related constraints;
-
Assessment: display a dialog
box with a bit-rate summary (connectivity, geometry and total);
-
Output levels: outputs
all the intermediate levels of details (per twin-layer) in a wrl scene.
This option allows one to visualize each mesh separately by opening
the resulting .wrl scene, pressing the button Init of the LOD section (very
bottom of the left command panel, scroll it), and moving the LOD slider;
-
Forbid concave: forbids a vertex
removal of a concave patch;
-
Forbid normal flipping: forbids
a vertex removal leading to a normal flipping after patch retriangulation;
-
Use metric: choose distance or
volume-based metric (e.g. volume on the current example), then enter a
(scale independent) threshold value (e.g. 0.4). Note that forbidding normal
flipping gives better result when using a metric;
-
Forget metric: the algorithm
can take not into account the metric when the complexity reaches the entered
number of vertices. This allows us to encode the base mesh using the same
algorithm down to a tetrahedron for a genus-0 mesh;
-
Pack codes: this option simulates
the decoding process in order to remove unuseful null_patch codes (details
in the paper). Note that the geometry is not decoded for the sake of efficiency
during the simulation);
-
Quantization: tunes the global
quantization level (typ. 12 bits).
Once the options are chosen, press the
button "Encode". The mesh is displayed each pair of decimation layers (i.e.
valence 3 and 3-6 layers):

Progressive decoding
-
Press Alt-R;
-
Select a .vpm file, e.g. head.vpm in
the current example;
-
Press Decode. Note that the viewpoint
may be different;
-
or drag & drop a .vpm file (no progressive
display in this cas though).
Decoding options:
-
Visual debugging: displays intermediate
levels of details;
-
Color: shows patch coloring for
each layer all the way through the refinement process;
-
Fine grain: do not check this
option please, we encoutered some conflicts between OpenGL display lists
and our decoding algorithm;
-
Delay: in ms, between each layer.
May be useful to visualize the "Color" option or the very beginning of
the decoding.
Example on head.vpm:
-
Press Alt-R;
-
Check color;
-
Enter a 100 ms delay;
-
Press decode (in order to better visualize
each patch layer, you may also check the options "Add wireframe" and "Global
color" in the section Objects in the middle of the left control panel (scroll
the panel)).
Details of encoding
You may also like to visualize each
patch layer independently and decompose the encoding process. In order
to do so:
-
Open a mesh (e.g. head.wrl);
-
Choose a viewpoint (ctrl+s for toggling
the rotation axis);
-
Scroll the left control panel and check
add wire and global color (the former superimposes a wireframe on the mesh
and the latter displays the superimposed mesh with a global color);
-
Adjust the polygon offset line/fill
so that no z-fighting occurs;
-
Press Ctrl+R: a dialog box pops up and
allows you to choose several options;
-
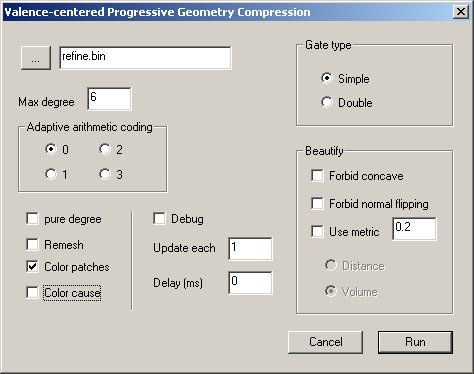
Uncheck "Remesh" and "Color cause".
The max degree is set to 6 by default, the algorithm will therefore target
only valence 3 to 6.

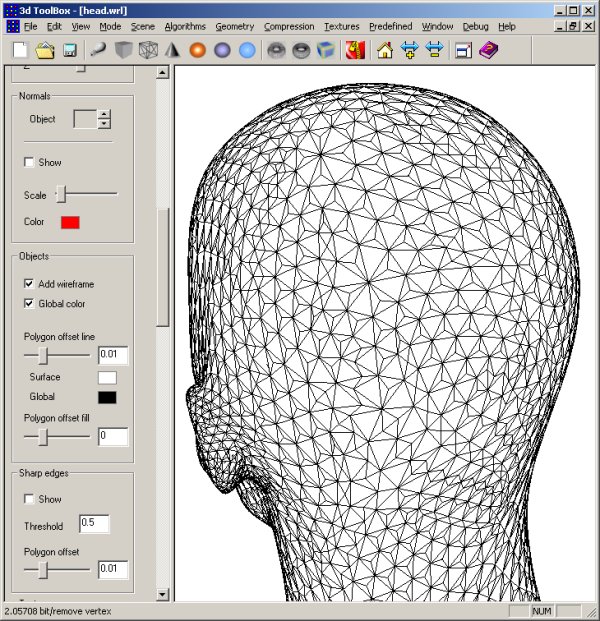
Press Run: the independent set is
displayed:

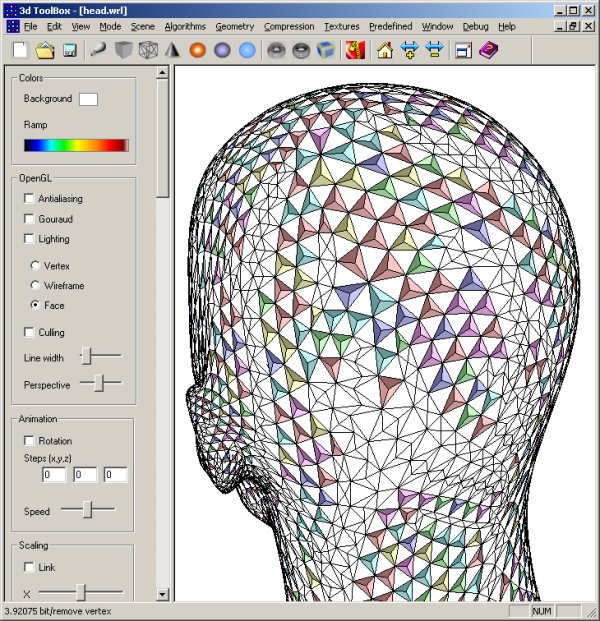
Press Ctrl+R again and press Run.
The first layer has been processed. The mesh is sprinkled with many valence-3
vertices:

Press Ctrl-R, select max degree 3
and uncheck remesh and color cause, the independent set is still displayed:

and we keep going by alternating
layer 3 and 6 this way... generating valence codes of removed vertices
and some additional null_patch codes.


